
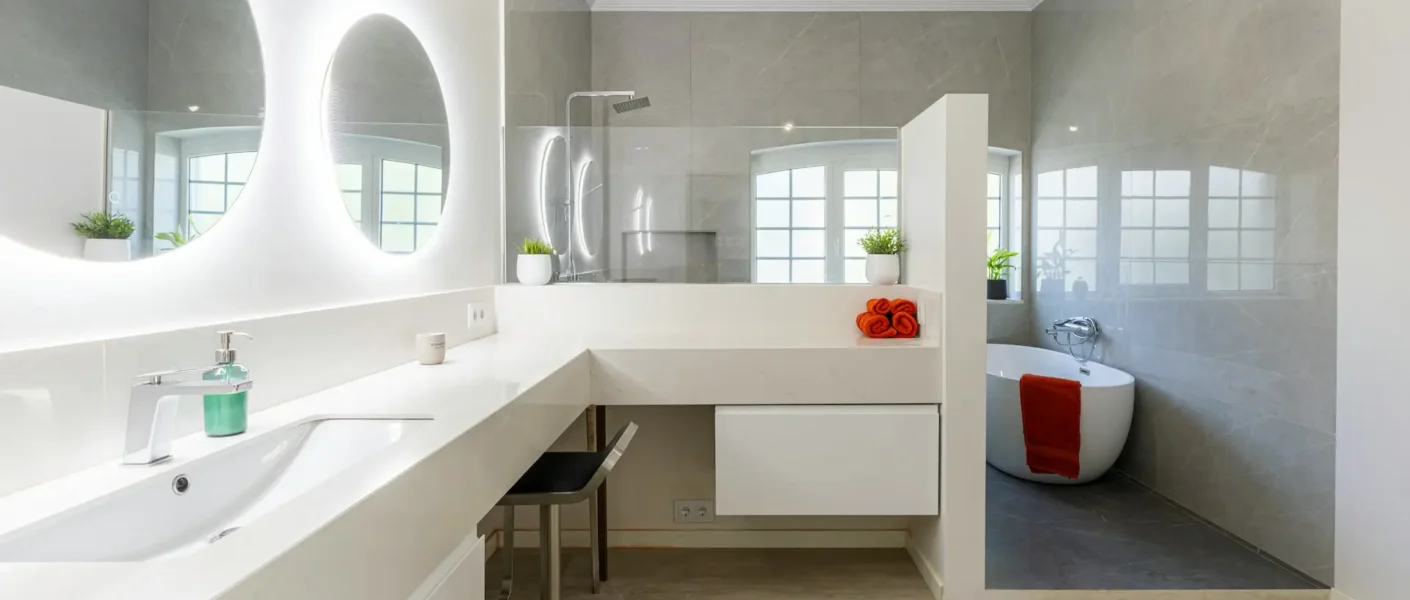
A few carefully chosen bathroom upgrades can improve storage, refresh tired surfaces and make the room easier to use without requiring a full renovation. The key is to decide which jobs suit your DIY skills and which need professional help.
Start with accurate measurements, a realistic budget and a clear order of work. This prevents new fittings from arriving before the space is ready and reduces the risk of paying twice to correct avoidable mistakes.
Planning Your Project Budget
Write down every planned change before buying anything. Divide the list into fixtures, materials, tools, labour and waste disposal, then add a contingency of around 10 to 15 per cent. Older bathrooms can reveal damp plaster, damaged flooring or worn pipework once existing fittings are removed.
Spend first on items that affect everyday function. A leaking tap, poor ventilation or inadequate storage deserves attention before decorative accessories. This guide to remodelling priorities offers useful context for deciding where your money will have the greatest practical effect.
Your working budget might look like this:
- 40 per cent for major fittings and furniture
- 20 per cent for flooring, wall finishes and sealants
- 15 per cent for taps and accessories
- 10 per cent for tools and waste removal
- 15 per cent as a contingency
Prices vary with room size and product choice, so research current figures before setting a limit. Our guide to bathroom installation costs can help you account for expenses that are easy to overlook.
Choosing the Right Materials
Bathrooms place unusual demands on materials because surfaces face steam, splashes and regular cleaning. Choose products specifically rated for damp spaces. Standard paint, untreated timber, and porous flooring may look appealing at first, but can stain, swell, or peel surprisingly quickly.
Use moisture-resistant paint on suitable walls and consider porcelain or ceramic tiles around baths, showers and basins. For floors, check that the product is water-resistant and offers enough grip when wet. Large tiles can make a compact room feel calmer, although uneven walls and floors may make them harder for a beginner to install neatly.
Furniture needs similar care. When comparing all bathroom vanity units, check dimensions, basin configuration, finish and internal storage against your room plan. Customisable sizes can be particularly helpful when pipe positions or narrow gaps rule out standard furniture.
Order samples where possible. View colours in daylight and under the bathroom light, then place tile, paint and worktop samples together. This simple check can reveal clashing whites, impractical textures or finishes that show every water mark.
Installing New Bathroom Elements
Begin by isolating the relevant water supply and confirming that the pipes are empty before removing a tap or basin. Keep towels and a shallow container nearby because some water will remain in the fittings. Photograph existing connections before dismantling them and label small parts as you work.
Dry-fit each item before applying adhesive or sealant. A vanity unit, for example, should sit level with doors and drawers able to open fully. Mark fixing points only after checking for concealed pipes and cables. Use fixings suited to the wall construction and the item’s weight, as plasterboard requires different support than masonry.
Straightforward cosmetic jobs, such as replacing handles or fitting a mirror, are sensible DIY tasks. Plumbing changes and electrical work carry greater risks. Bring in a qualified tradesperson if pipework must be moved, circuits need to be altered, or you find persistent damp. Bathroom electrical zones have strict safety requirements, so don’t treat a new light or powered fitting as an improvised weekend task.
Allow adhesives, grout and silicone to cure for the time stated by the manufacturer before exposing them to water.
Finishing Touches for a Polished Look
Small details become much more visible once the main installation is complete. Run an even bead of sanitary silicone around vulnerable joints, then smooth it with the appropriate finishing tool. Work in short sections, remove masking tape promptly and let the sealant cure fully before using the bath or basin.
Fresh grout can transform an older tiled area. Remove loose material, clean the joints and use a grout designed for wet rooms. If the existing grout is sound but discoloured, a thorough clean or grout reviver may be enough. These affordable remodelling tips also show how paint and selective updates can transform a room without replacing every surface.
Finish the space with practical layers:
- Install hooks where towels can dry properly
- Fit matching handles for a more consistent look
- Use lidded storage to reduce visual clutter
- Choose washable mats with non-slip backing
- Add a mirror that reflects available light
Once everything is fitted, inspect seals, taps and waste connections after the first few uses. A dry sheet of kitchen paper pressed around each joint will reveal a slow leak. Make those final checks before filling the cupboards, then your upgraded bathroom will be ready for everyday use.