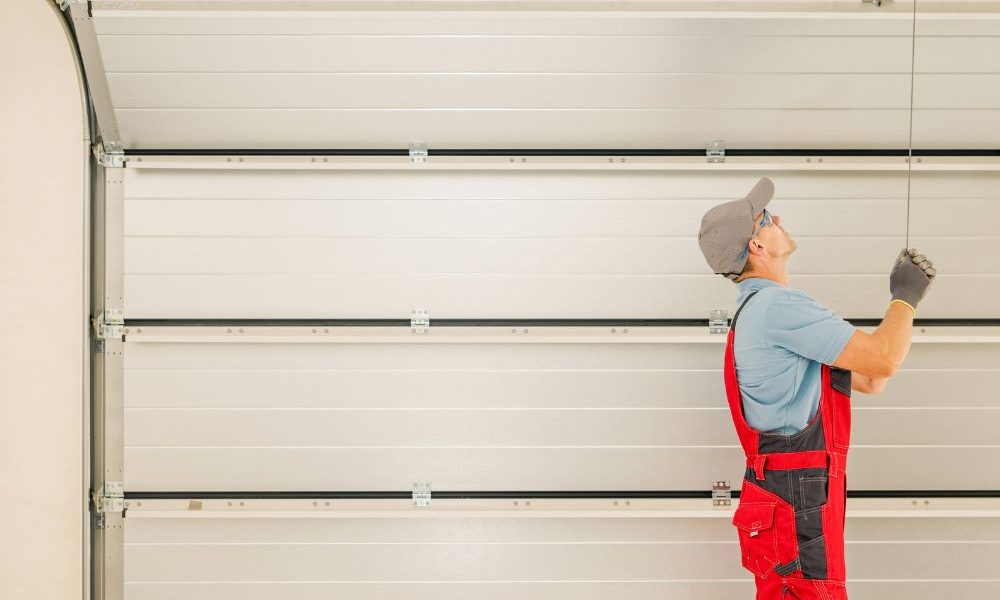
Installing a garage door might seem daunting, but with the right tools, instructions, and a bit of patience, you can tackle this project yourself. This guide will walk you through the process, providing clear, simple steps to ensure a successful installation. By the end, you’ll have a new garage door and the satisfaction of knowing you did it yourself.
Why Install Your Own Garage Door?
Cost Savings
One of the main reasons homeowners choose to install their own garage doors is to save money. Hiring a professional can be expensive, and doing it yourself can significantly reduce costs.
Personal Satisfaction
There’s a unique sense of accomplishment that comes from completing a DIY project. Installing your own garage door can be a rewarding experience, boosting your confidence in your home improvement skills.
Learning Experience
Taking on a garage door installation can teach you new skills and give you a better understanding of how your home works. This knowledge can be useful for future projects and repairs.
Tools and Materials Needed
Before you begin, gather the necessary tools and materials. Here’s a basic list:
- Garage Door Kit: Includes panels, tracks, springs, and hardware.
- Power Drill: For drilling holes and driving screws.
- Screwdrivers: Both flathead and Phillips.
- Wrenches: Adjustable or socket wrenches for tightening bolts.
- Level: Ensures your tracks and door are perfectly aligned.
- Tape Measure: Accurate measurements are crucial.
- Stepladder: For reaching higher parts of the installation.
- Safety Gear: Gloves, safety glasses, and sturdy footwear.
Safety First
Follow Manufacturer’s Instructions
“When installing a garage door, safety is paramount. Ensure you have the right tools and follow the manufacturer’s instructions to avoid injuries.” – Tom Silva, General Contractor, This Old House.
Proper Alignment
“Proper alignment is crucial in garage door installation. Even a small misalignment can cause significant issues down the line.” – Mike Holmes, Professional Contractor, Holmes on Homes.
Take Your Time
“Take your time with the installation process. Rushing can lead to mistakes that are costly to fix.” – Bob Vila, Home Improvement Expert, Bob Vila.
Step-by-Step Installation Guide
1. Read the Instructions
Before you start, read through the entire instruction manual that comes with your garage door kit. This will give you a good overview of the process and help you understand what to expect.
2. Assemble the Tools and Materials
Make sure you have all your tools and materials ready. Having everything within reach will make the process smoother and more efficient.
3. Prepare the Workspace
Clear the area around your garage door. Remove any obstacles and ensure you have enough space to work comfortably.
4. Install the Tracks
Measure and mark where the tracks will be installed. Use a level to ensure they are perfectly aligned. Secure the tracks to the walls with the provided brackets and screws.
5. Assemble the Door Panels
Lay the door panels on a flat surface. Connect them according to the manufacturer’s instructions, starting from the bottom panel and working your way up. Make sure each panel is securely attached before moving on to the next.
6. Attach the Tracks to the Panels
Once the panels are assembled, attach the tracks to the sides of the door. This step requires precision to ensure the door moves smoothly.
7. Install the Springs
“Before you start, make sure you have a clear understanding of the weight and type of door you are installing. This will affect the tools and techniques you need.” – Leah Bolden, Licensed General Contractor and Educator, See Jane Drill.
Installing the springs can be the most challenging part. Follow the instructions carefully and ensure the springs are properly tensioned. This step is critical for the door’s operation and your safety.
8. Connect the Opener (if applicable)
If you’re installing an automatic opener, now is the time to connect it. Follow the manufacturer’s instructions to ensure it’s properly aligned and secured.
9. Test the Door
Once everything is installed, test the door to ensure it opens and closes smoothly. Make any necessary adjustments to the tracks or springs.
10. Check the Balance
“Don’t forget to check the balance of your garage door. An unbalanced door can be dangerous and lead to premature wear on the opener.” – Ron Hazelton, Home Improvement Expert, Ron Hazelton’s HouseCalls.
To check the balance, lift the door halfway and let go. If it stays in place, the balance is correct. If it moves, adjust the springs until the balance is perfect.
Personal Anecdote: My Garage Door Installation Journey
When I decided to replace my old garage door, I was initially overwhelmed by the thought of installing it myself. However, I was determined to save money and learn something new. After gathering all the tools and carefully reading the instructions, I started the project on a sunny Saturday morning.
The installation process was challenging but incredibly rewarding. One of the most satisfying moments was when I successfully installed the springs, which I had been most nervous about. I took my time, ensuring everything was perfectly aligned and secure. When I finally tested the door and saw it open and close smoothly, I felt a tremendous sense of accomplishment. Not only had I saved money, but I had also gained valuable skills and confidence.
Common Mistakes and How to Avoid Them
Rushing the Process
Rushing through the installation can lead to mistakes. Take your time and follow each step carefully to ensure a successful outcome.
Ignoring Safety Precautions
Always wear safety gear and follow the manufacturer’s safety instructions. This will help prevent injuries and ensure a safe installation.
Misalignment
Proper alignment is crucial for smooth operation. Use a level to check the alignment of the tracks and panels regularly throughout the installation.
Incorrect Spring Tension
Improperly tensioned springs can cause the door to malfunction. Follow the instructions carefully and double-check the tension before completing the installation.
Conclusion
Installing a garage door yourself can be a rewarding and cost-effective project. By following this step-by-step guide and paying attention to safety and alignment, you can achieve a professional-quality installation. Take your time, enjoy the process, and take pride in the new addition to your home. Whether you’re an experienced DIYer or a first-timer, this project can boost your confidence and skills, leaving you with a functional and stylish garage door.


