Thinking of pouring concrete for a deck, mailbox post, or fence? Then you’ve probably seen those giant cardboard cylinders at the hardware store. They’re called Sonotubes—and if you’ve never worked with them before, don’t worry. This guide breaks everything down: what they are, when to use them, how to size them properly, and how to pour concrete the right way.
Whether you’re tackling a DIY patio or replacing a rotted post, this is the down-to-earth info you’ll want before mixing a single bag of cement.
What Is a Sonotube (or Concrete Form Tube)?
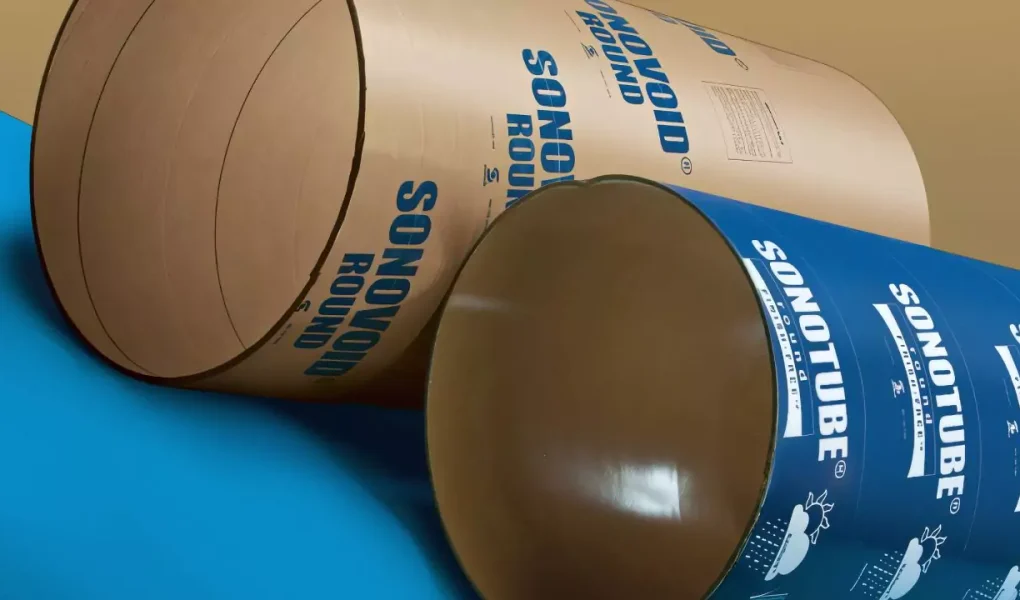
A Sonotube is a cylindrical form used to hold wet concrete in place until it cures. Think of it like a disposable mold. Made from heavy-duty cardboard with a water-resistant lining, it’s commonly used to form concrete footings, piers, or posts—especially for decks and fences.
Despite the brand name Sonotube, people often refer to them as cement tubes, concrete tubes, or sono tubes. You might even hear odd variations like sona tube, sonar tube, or sontube—but they all point to the same thing: a tube that shapes poured concrete into a strong, upright column.
These tubes come in different diameters and lengths to fit various jobs. And no—they’re not just for professionals. Many homeowners use them to create rock-solid footings without hiring a contractor.
When to Use a Concrete Tube
So, when do you actually need one of these tubes? If you’re building anything that needs a vertical post anchored into the ground—like a deck, pergola, fence, or even a small shed—a Sonotube is usually the best way to create a solid concrete base.
Here’s why it works: Instead of pouring concrete straight into a messy hole (which can lead to weak, uneven results), a concrete form tube keeps everything tidy, aligned, and uniform in shape. The result is a cleaner install, better strength, and a footing that meets code requirements more easily.
For example:
- Deck footings: Almost every U.S. building code requires footings that extend below the frost line. A Sonotube helps form these with consistent depth and diameter.
- Fence posts: Especially for metal or tall wooden fences, a properly poured tube creates a more durable anchor.
- Mailboxes, signs, or lamp posts: When aesthetics and strength both matter, tube-formed concrete gives a clean finish and solid base.
If you’re pouring multiple footings at once, Sonotubes help you keep them all the same height and level—which saves you from headaches when you start attaching posts or beams.
Sonotube Sizes and Dimensions
Choosing the right size isn’t just about preference—it’s about load-bearing capacity, frost protection, and local code compliance. If you need help matching diameter to volume or concrete bag estimates, this Sonotube sizing chart provides a detailed breakdown to guide your choice.
Common Sonotube Diameters
For most home projects, these are the go-to sizes you’ll see at hardware stores:
- 6-inch: Light-duty jobs like small signs or mailboxes
- 8-inch: Ideal for light fence posts or garden structures
- 10-inch: Common for small decks or stairs
- 12-inch: Most popular for residential decks and porches
- 18-inch+: Used when you’re supporting more weight, like hot tubs or two-story decks
Standard Lengths
Most Sonotubes are sold in 4-foot or 12-foot lengths, but you can easily cut them down with a hand saw. If you’re pouring a footing below the frost line, make sure your tube is long enough to reach the required depth plus a few inches above ground for finishing.
How to Choose the Right Size
- Decks: A 12″ tube is a safe bet for most residential decks. For specific post sizes like 6x6s, this guide on what size Sonotube to use for a 6×6 post explains the minimum footing width required for safe support.
- Pergolas or posts: 8″ or 10″ will usually work unless the post carries a load
- Fence posts: 6″ can work for light fencing, but 8″ is safer in areas with high winds
Sonotube Footing Details
When it comes to structural support, what’s below ground is just as important as what’s above. That’s where Sonotube footings come in. They help transfer the load from your deck, post, or column down into stable soil. But to work properly, your footings need to follow a few key rules.
Depth: How Deep Should a Sonotube Go?
Start by checking your local frost line depth—most U.S. building codes require footings to extend below this level to prevent frost heave, as outlined in Section R403 of the International Residential Code (IRC) by the International Code Council. Depending on where you live, that might mean 12 inches in Florida or over 48 inches in Minnesota.
Pro tip: Always dig at least 4–6 inches deeper than the frost line and fill the bottom with gravel. This prevents water pooling under the concrete and adds stability. The U.S. Department of Housing and Urban Development (HUD) includes this as part of permanent foundation best practices.
Width and Base Size
For most decks or small structures, the diameter of your Sonotube should be 12 inches or larger. But footing base size matters too. Some areas require a bell-shaped or wider base beneath the tube to spread the load—especially on clay or loose soils. This aligns with residential load distribution recommendations from the American Society of Civil Engineers.
You can use pre-formed plastic footing bases with Sonotubes, or flare the bottom manually using a shovel before inserting the tube. This is especially helpful for heavy loads or clay-rich ground.
Reinforcement
- Insert vertical rebar before pouring to tie into the structure above, as recommended by the American Concrete Institute.
- Cross-brace tubes with wood or clamps above ground so they don’t shift during the pour
- Use a post anchor or bolt system embedded in the top of the tube for attaching wood or metal posts
Pouring Concrete Into Sonotubes
Once your Sonotubes are in place and level, it’s time for the main event—pouring the concrete. Whether you’re mixing it yourself or having it delivered, this step makes or breaks the strength of your footing.
Step-by-Step Pouring Process
- Prep the tube
- Make sure it’s centered in the hole and braced upright
- Double-check height and alignment with a level
- Wet the inside lightly (not soaking) to prevent water from being pulled out of the mix too fast
- Mix the concrete
- For DIY jobs, Quikrete 5000 or similar high-strength mixes are ideal
- One 80 lb bag fills about 0.6 cubic feet—a 12″ x 4′ tube takes roughly 5–6 bags, according to the National Ready Mixed Concrete Association.
- Pour slowly
- Fill the tube in layers, about 12–18″ at a time
- Use a stick or rod to tamp down each layer and remove air pockets
- If available, a concrete vibrator helps consolidate the mix
- Set the anchor
- While the concrete is still wet, place your metal post base or anchor bolt
- Align it carefully—it’ll set in place once cured
- Smooth the top for a clean finish or bevel it to shed water
- Cure properly
- Cover the exposed top with plastic or damp cloth to prevent rapid drying
- Wait at least 24–48 hours before removing braces or applying weight
- Full cure takes about 28 days for maximum strength
Done right, your Sonotube footings will outlast the structure they’re holding up.
Anchoring and Setting Posts
Once your concrete has cured, it’s time to anchor your structure—whether it’s a deck, fence, or freestanding post. And here’s where many homeowners go wrong: don’t just jam a wooden post straight into the tube. That invites rot, instability, and future repairs.
Best Practice: Use a Post Anchor
A post anchor is a metal bracket that holds the bottom of your wood or metal post above the concrete surface. You’ll typically want a Simpson Strong-Tie-style bracket with:
- A flat base that embeds in the wet concrete or bolts into cured concrete
- Vertical sides with holes to secure the post with lag bolts or screws
- Space between the post and concrete to prevent moisture wicking
You can either:
- Set the anchor into the wet concrete as it cures (just make sure it’s perfectly level and centered), or
- Drill into cured concrete using wedge anchors or epoxy bolts
Direct-Set Posts (Not Always Ideal)
Some homeowners still choose to place a pressure-treated post directly into the wet Sonotube, but this has risks:
- Wood in concrete can absorb moisture, leading to rot over time
- It’s harder to adjust alignment after pouring
- Not recommended for long-term structures or in wet climates
That said, for temporary structures or fences, it’s doable—just use ground-contact-rated treated lumber and add a drainage layer of gravel at the bottom.
Sonotube vs Other Construction Tubes
Sonotube is a brand name, but it’s become the go-to term for almost any cylindrical concrete form. Still, it’s worth knowing what you’re getting—and what alternatives exist—especially if you’re working on multiple projects or in tough conditions.
What Makes Sonotube Stand Out?
- Water-resistant lining: Helps prevent early moisture loss, which is key to a proper cure
- Strong enough to stay upright without collapsing, even when full of concrete
- Easy to cut and customize for height, base, or bracing needs
Other Concrete Form Tubes You Might See
| Type | Pros | Cons |
|---|---|---|
| Generic fiber tubes | Cheaper than branded Sonotubes | May not have water-resistant lining; more prone to softening or collapsing |
| Plastic form tubes | Reusable, waterproof, rigid | More expensive, usually overkill for small jobs |
| Metal forms | Durable and reusable for contractors | Not practical for most DIYers |
| Cardboard tubes without lining | Inexpensive, light-duty | Risk of swelling or failure if moisture seeps in |
If you’re buying from a big-box store, check the label. Some tubes look similar but don’t have the same strength or water resistance. Look for “wet strength rated” tubes—especially for deeper or long-cure jobs.
Common DIY Mistakes to Avoid
Using Sonotubes seems simple—dig a hole, drop in a tube, and pour concrete, right? Well, not quite. These are the most common mistakes homeowners make (and how to avoid them).
1. Skipping the Gravel Base
Pouring concrete straight into a hole without a gravel base is a recipe for poor drainage. Always add 4–6 inches of compacted gravel before setting your Sonotube. It prevents water buildup and adds stability.
2. Crooked Tubes
If you don’t brace your tubes well, they can shift or lean as you pour—especially with taller footings. Use stakes and cross-bracing to hold everything level and vertical. Once the concrete sets, you can’t fix it.
3. Underestimating Concrete Volume
Guessing how many bags of mix you need usually ends with a mid-pour panic run to the store. Use a concrete calculator ahead of time. (Let me know if you want a chart for this!)
4. No Post Anchor Plan
Setting posts directly into the tube without an anchor often leads to early rot, misalignment, or loose posts down the line. Even if you’re in a hurry, using a bracket or post base is worth it.
5. Pouring in One Big Go
Dumping all your concrete in at once can trap air and leave gaps. Pour in stages, tamp each layer, and vibrate if needed for better strength.
Avoiding these mistakes doesn’t just save time—it makes your concrete last longer and perform better.
FAQs
What are Sonotubes made of?
Most are made from thick cardboard with a wax or resin lining that resists moisture. The branded ones (like actual Sonotube) are designed to hold shape and not break down during a long pour.
Can Sonotubes stay in the ground permanently?
Yes. They’re designed to be left in place. The cardboard will eventually degrade underground, but by then the concrete has cured and holds its shape just fine.
How long before I can remove the Sonotube?
If you want to strip the tube off for a clean finish above ground, wait at least 24–48 hours. For full strength, allow a 28-day cure—but you don’t need to wait that long to build on top.
Are Sonotubes waterproof?
They’re water-resistant, not waterproof. If you’re working in heavy rain or soggy soil, protect the top with plastic and avoid leaving the tubes exposed for days before pouring.
How many bags of concrete per tube?
Here’s a quick estimate for 4-foot tubes (rounded):
- 8″ diameter: ~3–4 bags
- 10″ diameter: ~5–6 bags
- 12″ diameter: ~6–8 bags
- 18″ diameter: ~12–14 bags
Want a full concrete volume table or downloadable chart? Just say the word.
Can I reuse a Sonotube?
Not really. Once it’s used, it’s done. Some plastic or metal form tubes are reusable—but not standard cardboard Sonotubes.
Is it okay to pour concrete directly into a dirt hole?
Only for very light-duty projects. Without a form, concrete can weaken as soil mixes in. You’ll also get a rougher shape, and it’s harder to anchor posts properly.
Conclusion
Using Sonotubes might look intimidating at first, but once you understand how they work, they become one of the easiest and most reliable ways to pour concrete footings. Whether you’re building a deck, setting a fence post, or anchoring a pergola, a Sonotube gives you structure, strength, and consistency—all with tools you likely already have in your garage.
Just remember the essentials:
- Pick the right size based on your project’s load
- Dig below the frost line and add a gravel base
- Brace your tubes well and pour concrete in layers
- Use a post anchor for longer-lasting builds
Done right, these footings can outlast the wood or metal you place on top of them. And with a bit of planning, you’ll avoid the mistakes that trip up most first-timers.
If you’re planning your next outdoor project, start with solid ground—literally. With Sonotubes, you’re not just pouring concrete. You’re building a foundation that lasts.