As colder weather approaches, it’s tempting to simply flip the switch and enjoy the warmth of your home furnace. However, preparing your furnace before turning it on is crucial for safety, efficiency, and longevity. Failing to take the necessary precautions can lead to higher energy bills, unexpected breakdowns, or worse—safety hazards like carbon monoxide leaks or fires. This guide will walk you through the 10 things you should do before turning on your furnace, ensuring a smooth and safe winter season.
1. Inspect and Replace Your Air Filter
The air filter plays a vital role in maintaining indoor air quality and ensuring that your furnace operates efficiently. A clogged or dirty air filter restricts airflow, which can cause your furnace to overwork and overheat. It can also reduce the quality of air circulating throughout your home, triggering allergies or respiratory issues.
Steps:
- Locate the air filter, usually found inside the furnace or return air duct.
- Remove the old filter and inspect its condition. If it’s covered in dust and debris, it’s time for a replacement.
- Replace the filter with a new one that fits the model of your furnace. Make sure you’re choosing the right filter based on the manufacturer’s recommendations for size and type.
Before turning on your furnace, it’s a good idea to schedule air duct cleaning to ensure optimal airflow and indoor air quality. Over time, dust, debris, and allergens can accumulate in your ducts, reducing the efficiency of your heating system and circulating contaminants throughout your home. Professional air duct cleaning removes these pollutants, helping your furnace run more efficiently and providing cleaner air for your family to breathe. If you’ve recently renovated your home or have pets, air duct cleaning is especially important to prevent clogged ducts and improve overall furnace performance.
2. Check the Thermostat
Your thermostat is the command center for your heating system, and ensuring it’s working properly is essential before turning on your furnace. An inaccurate or faulty thermostat could cause uneven heating, inefficient operation, or unnecessary energy consumption.
Steps:
- Switch the thermostat to the heating mode and set the desired temperature.
- Listen for the furnace to turn on after adjusting the thermostat.
- If the furnace doesn’t respond, check the batteries in a battery-powered thermostat and replace them if needed.
- Test the accuracy of your thermostat using a separate thermometer. If it’s not reading correctly, you may need to recalibrate or replace it.
Consider upgrading to a programmable or smart thermostat, which allows you to set schedules, optimizing energy use and comfort.
3. Inspect Furnace Vents and Ducts
The vents and ducts that deliver warm air throughout your home must be clean and clear to ensure efficient furnace operation. Blocked vents reduce airflow, which makes your furnace work harder and can even lead to overheating.
Steps:
- Inspect the air supply and return vents throughout your home. Ensure they’re free from obstructions like furniture, curtains, or debris.
- Vacuum dust and dirt from the vent covers to ensure optimal airflow.
- Check your ductwork for any visible leaks or blockages. Leaky ducts waste energy by allowing warm air to escape before it reaches your living areas.
- If you notice any major issues like holes in the ducts or severe blockages, contact a professional for duct cleaning or repair.
Clean and functional vents and ducts not only improve furnace efficiency but also contribute to better indoor air quality.
4. Clean Around the Furnace
Your furnace needs adequate airflow around it to operate safely and efficiently. Clutter and dust build-up around the furnace can pose a fire risk or cause operational issues.
Steps:
- Clear away any objects or stored items from around the furnace, including flammable materials like paper, paint, or cleaning supplies.
- Use a vacuum or damp cloth to remove dust, dirt, and debris from the exterior of the furnace. Pay special attention to the area around the blower motor and other critical components.
- Ensure there are at least three feet of clear space around the furnace to allow proper ventilation.
Keeping the area around your furnace clean and unobstructed reduces fire hazards and allows the unit to function more efficiently.
5. Test the Carbon Monoxide Detector
A carbon monoxide (CO) leak from your furnace can be life-threatening, as the gas is odorless and colorless. Before you fire up your furnace, ensure that your CO detectors are working properly to protect your household from the dangers of carbon monoxide poisoning.
Steps:
- Locate your carbon monoxide detectors and test them according to the manufacturer’s instructions, typically by pressing the “test” button.
- Replace the batteries if the detector doesn’t respond to the test or if it’s been more than six months since the last replacement.
- If you don’t have CO detectors installed, consider placing them near sleeping areas and on each level of your home for optimal safety.
If your CO detector goes off during furnace operation, turn off the furnace immediately and contact a professional for inspection.
6. Inspect the Pilot Light (for Older Furnaces)
If you have an older gas furnace with a standing pilot light, it’s essential to inspect and ensure it’s lit and functioning correctly. A faulty pilot light can prevent your furnace from heating your home or may lead to gas leaks.
Steps:
- Turn off the furnace and remove the front panel to locate the pilot light.
- Ensure that the flame is steady and blue. A yellow or flickering flame may indicate a problem with the gas line or burner.
- If the pilot light is out, follow the manufacturer’s instructions to safely relight it.
- If the pilot light continues to go out or the flame is discolored, contact a technician for further inspection.
Regularly checking your pilot light helps prevent gas leaks and ensures your furnace operates properly.
7. Schedule a Professional Furnace Inspection
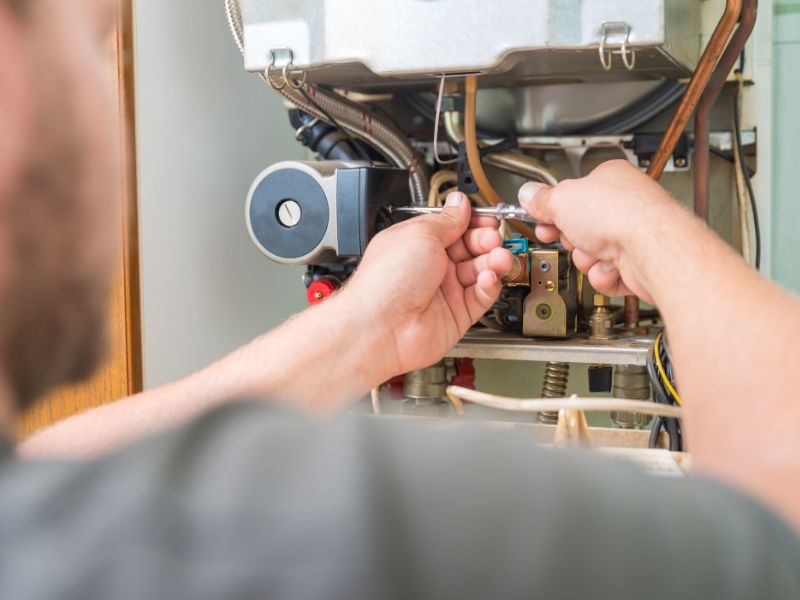
While some furnace maintenance can be done by homeowners, an annual professional inspection is critical for identifying and addressing potential problems before they become costly repairs or safety hazards. HVAC professionals can spot issues that might go unnoticed and ensure your system is ready for winter.
What a professional inspection includes:
- Checking for gas leaks or cracks in the heat exchanger.
- Inspecting the blower motor, belts, and electrical connections.
- Lubricating moving parts and cleaning internal components like the burners.
- Ensuring the thermostat, safety controls, and fan are functioning properly.
Scheduling an annual furnace tune-up improves efficiency, extends the lifespan of your furnace, and ensures it operates safely throughout the heating season.
8. Check the Exhaust Flue
Your furnace’s exhaust flue or chimney is responsible for safely venting combustion gases like carbon monoxide and sulfur dioxide outside of your home. A blocked or damaged flue can lead to dangerous indoor air quality issues or even carbon monoxide poisoning.
Steps:
- Inspect the exhaust flue for any visible blockages like leaves, debris, or bird nests.
- Ensure the flue is properly connected and there are no holes, cracks, or gaps where gases could escape.
- If the flue exits through the roof, check that the cap is secure and intact to prevent debris from entering.
- If you’re unsure about the condition of your exhaust flue, it’s best to have a professional inspect it.
Ensuring a clear and functional exhaust flue is vital for safe furnace operation and prevents hazardous gas buildup in your home.
9. Ensure the Furnace Drainage System is Clear
High-efficiency furnaces produce condensation during operation, which needs to be properly drained. A clogged or malfunctioning drainage system can cause water damage, mold growth, or furnace failure.
Steps:
- Locate the condensate drain pipe connected to your furnace. It’s typically a white PVC pipe running to a floor drain or condensate pump.
- Check the pipe for clogs, mold, or mineral buildup. Use a vinegar solution or a thin brush to clean the inside if necessary.
- Ensure that the drain pan is empty and free of rust or corrosion.
- If your furnace uses a condensate pump, test the pump to ensure it’s working properly.
Regularly checking and cleaning the drainage system prevents water damage and helps your furnace run efficiently.
10. Review Your Energy Usage and Settings
Before turning on your furnace, it’s a good idea to review your home’s energy usage and settings to optimize efficiency and save money during the heating season. Small changes to your heating habits can have a big impact on your energy bills.
Steps:
- Set your thermostat to the lowest comfortable temperature, typically between 68°F and 72°F during the day.
- Consider lowering the thermostat by a few degrees at night or when you’re away from home to save energy.
- Check for drafts around windows, doors, and other areas where heat might escape, and seal them with weatherstripping or caulk.
- Add insulation to areas like attics or basements if necessary to improve your home’s energy efficiency.
Taking these steps before turning on your furnace will ensure your system runs more efficiently, keeping your home warm and comfortable while reducing energy waste.
11. Inspect the Furnace Blower Motor
The furnace blower motor is essential for circulating warm air throughout your home. Before turning on your furnace, ensure the blower motor is in good condition to prevent airflow issues or system failure. Look for unusual sounds, vibrations, or sluggish performance when the motor runs. If you notice any problems, it’s best to search for “furnace blower motor near me” and contact a local HVAC technician for inspection or repair. Regular maintenance of the blower motor not only extends the life of your furnace but also ensures even and efficient heating throughout your home.
Conclusion
Turning on your furnace for the first time each season involves more than just flipping a switch. By following these 10 steps, you can ensure that your furnace operates safely and efficiently, providing reliable heat throughout the colder months. From replacing the air filter and testing the carbon monoxide detector to scheduling a professional inspection, these precautions can save you from unexpected breakdowns, costly repairs, or safety hazards. With a little preparation, you can enjoy a warm and worry-free winter.

