By Nyla Rose – Founder of Homformation.co.uk, home renovation expert with 12+ years of hands-on UK experience
Thinking about installing your own tiles? You’re not alone. DIY tile installation has become a go-to weekend project for many homeowners across the UK. It promises cost savings and creative freedom—but it also comes with risks. While it’s certainly doable in some cases, there are times when calling a professional isn’t just helpful—it’s the smarter (and cheaper) move in the long run. Let’s break it all down so you can make the best decision for your home, budget, and sanity.
Why So Many Homeowners Try DIY Tiling
DIY tiling is attractive for obvious reasons:
- Cost savings: You don’t pay for labour, which can slash your project cost by up to 50%.
- Full control: You decide on the design, schedule, and materials, with no middleman to interpret your vision.
- Personal satisfaction: There’s pride in standing back and saying, “I did that.”
According to Rated People’s 2024 Home Improvement Trends report, over 40% of UK homeowners now attempt at least one major DIY job per year, with tiling being among the top three. That confidence is great—but tiling isn’t as easy as it looks on social media.
DIY Tile Installation: Where It Often Goes Wrong
Despite the appeal, tiling is one of the most technical DIY tasks in home renovation. A misstep during prep or install can leave you with visible flaws that are expensive and frustrating to fix later. Let’s look at the most common issues I encounter in client homes—and often have to redo:
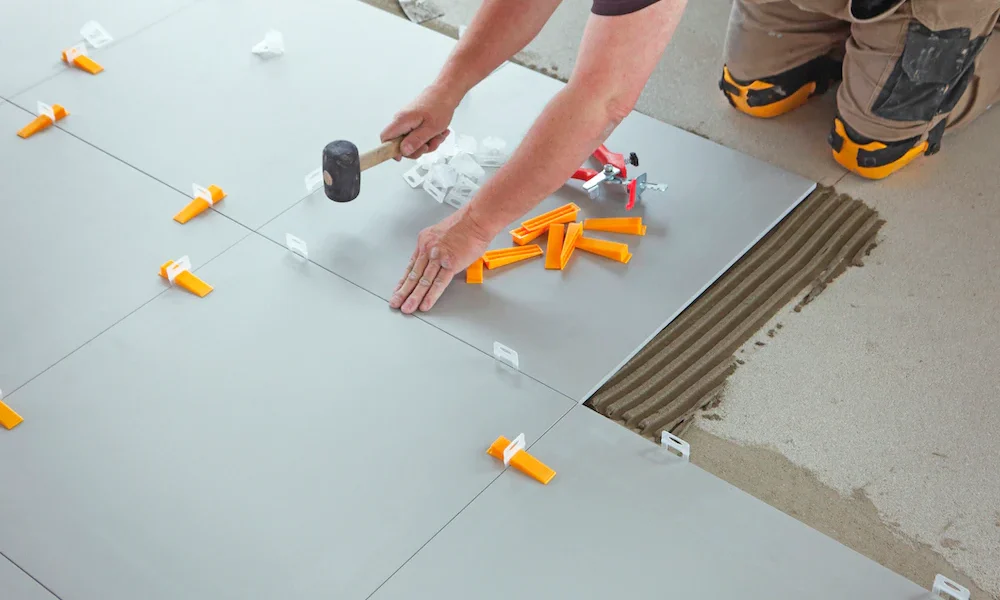
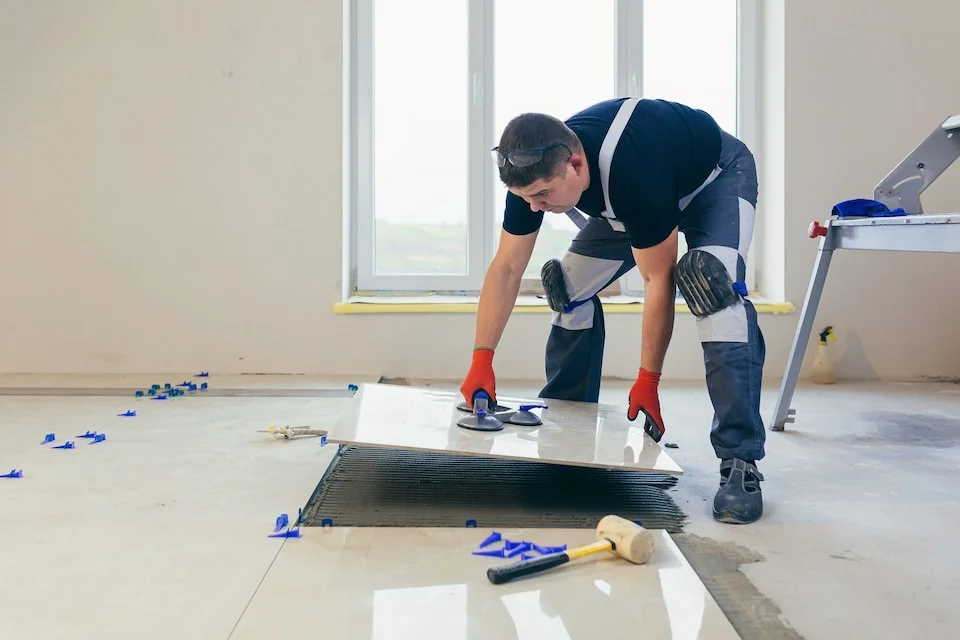
- Uneven Surfaces (a.k.a. lippage): This happens when tiles sit at different heights, creating edges you can feel or trip over. It’s usually due to poor surface levelling or inconsistent adhesive depth—problems that aren’t obvious until the tiles are set.
- Inconsistent Grout Lines: Without proper spacers and a laser level, your tiles may shift during installation. Even a 1mm difference is noticeable over a large area, especially with light grout on dark tiles.
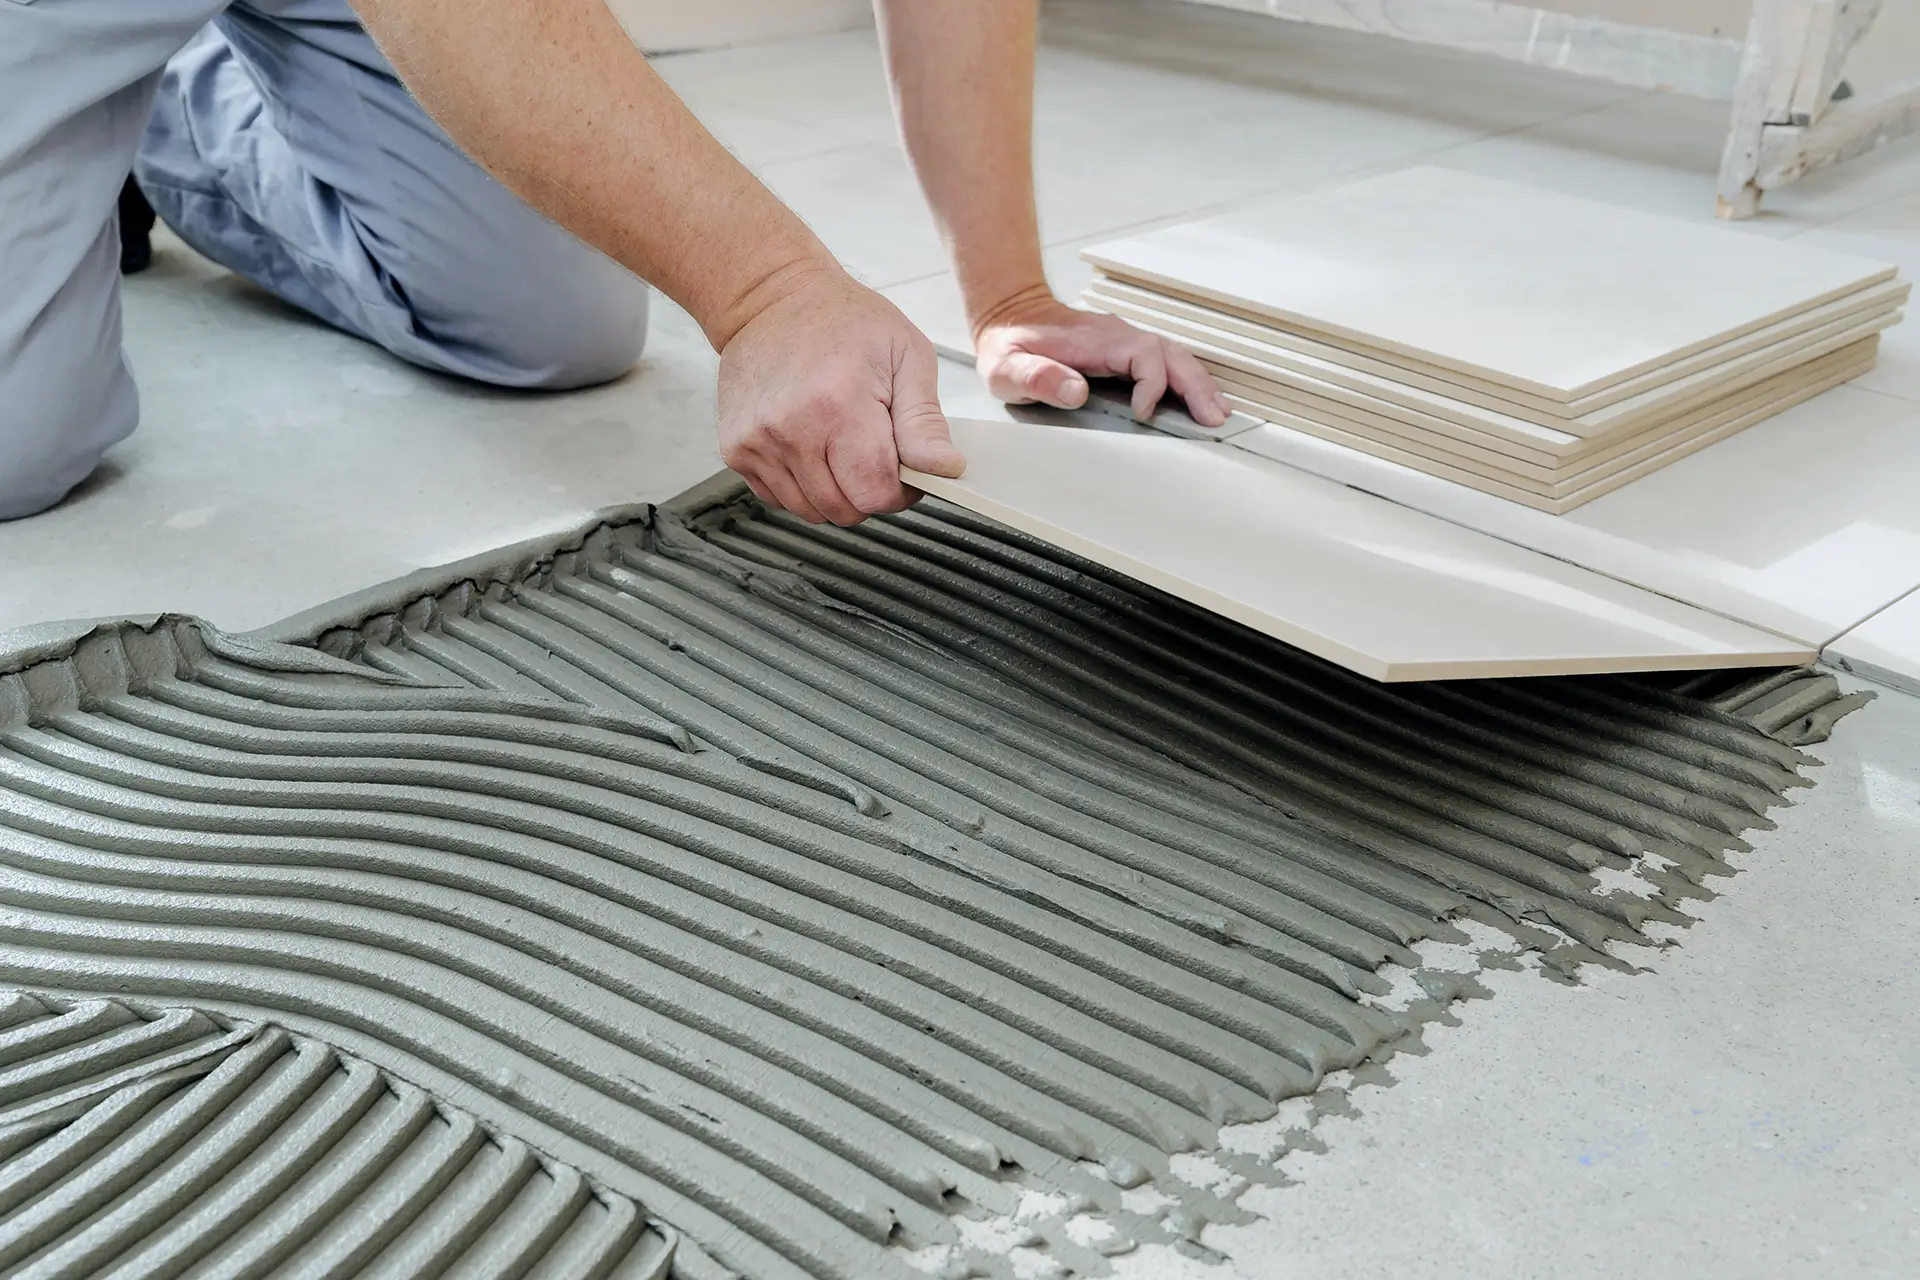
- Poor Adhesion: Some DIYers use the wrong adhesive for the tile type or substrate. For instance, using a standard adhesive on porcelain tiles or failing to back-butter large format tiles can lead to weak bonds and eventual cracking.
- Grout Discoloration or Cracking: Mixing grout with too much water, applying it unevenly, or failing to seal it properly are mistakes that show up weeks or months later as discoloration, powdery residue, or cracking.
- Tile Breakage During Cutting: Without a proper wet saw or tile scorer, DIYers often crack delicate tiles, especially when cutting curves or notches for pipes.
Even something as simple as measuring incorrectly can throw off your entire layout. These issues can make a well-intended project look amateur and diminish your home’s value—a far cry from the polished finish most homeowners want.
Ask Yourself These 5 Questions Before Going DIY
Before diving into any tile project, I always tell clients to stop and ask themselves five honest questions. Your answers will reveal whether you’re truly ready—or heading for regret.
1. Do I have time for this—really?
Tiling takes longer than you think. Even for seasoned pros, a small 5m² area can take a full day when you factor in prep, layout, adhesive setting, and grouting. As a DIYer, expect to double or triple that time. Add in drying times and cleanup, and you’re easily looking at a full weekend (or more).
2. Do I have access to the right tools?
Basic tiling tools include a notched trowel, level, spacers, tile cutter or wet saw, mixing paddle, sponges, and buckets. Renting may cost £50–£100, while buying can push over £200. If you’re only doing one project, those costs eat into your expected savings.
3. Am I ready for unexpected setbacks?
What if a tile breaks and you run out? What if your wall isn’t flat? also, What if your adhesive dries too fast? Professionals troubleshoot these problems daily. As a DIYer, delays can be frustrating—and costly if you make a mistake you have to undo.
4. Do I understand surface prep requirements?
This is the #1 area where DIY fails. Substrates need to be clean, dry, level, and stable. Cement board or tile backer boards often need to be installed first. Skipping or rushing this step risks water damage, cracked tiles, or detachment later.
5. Is the area I’m working on simple or complex?
A flat kitchen backsplash with straight walls? DIY-friendly. A wet room with curves, niches, and multiple fixtures? Not so much. The more complex the layout, the more experience you’ll need—and the higher the stakes for getting it right.
When It’s Better to Call a Professional
Not every project is cut out for DIY—and that’s okay. One of the most common misconceptions I hear from homeowners is, “It’s just tile, how hard can it be?” In reality, there are specific situations where hiring a professional tiler not only saves time and money but also prevents irreversible mistakes.
1. Intricate Designs or Patterns
If your vision includes chevron, herringbone, or complex mosaics, you’ll need absolute precision. These patterns require perfect tile spacing, symmetry, and alignment from the very first row. A 1mm shift early on can throw off the whole look. Pros know how to lay out tricky designs with reference lines, laser guides, and dry layouts before any adhesive touches the wall or floor.
For example, I recently worked with a client in Leeds who wanted a vertical stack tile design with a contrasting border in their wet room. It took multiple calculations, dry-fit adjustments, and precision cuts to get it just right. That level of detail is hard to DIY without experience.
2. Large Areas or High-Impact Rooms
The bigger the space, the more room for error. Living rooms, hallways, or open-plan kitchens are often high-visibility and high-traffic. If these areas look uneven or poorly aligned, it’s not just aesthetic—it impacts resale value. Plus, large spaces require consistent spacing and levelling over long distances, which is difficult to maintain without experience and a laser level.
A skilled tile contractor also works more efficiently in large spaces, ensuring tight grout lines, precise cuts, and fast completion—especially helpful when coordinating with other trades. While a DIYer might take a week to complete a 20m² space, a skilled installer with the right tools could be done in two days, including grouting and sealing.
3. Bathrooms and Wet Areas
Bathrooms are a different beast. You’re not just dealing with tile aesthetics—you’re dealing with waterproofing, proper drainage gradients, and moisture-proof adhesives. Any mistake here can lead to mould, leaks, or even structural damage.
In the UK, improper bathroom tiling is one of the top causes of water ingress issues in homes, according to data from the Federation of Master Builders. A professional ensures the space meets waterproofing standards, including the right use of tanking membranes, slope-to-drain calculations, and silicone work in expansion joints.
4. Time-Sensitive Projects
If you’re on a tight schedule—maybe preparing a home for sale or coordinating with other renovation works—professionals can save you valuable time. Delays caused by DIY errors can cascade into other trades waiting for you to finish. In my renovation projects, I always advise clients with deadlines to avoid DIY unless they’ve done similar jobs before and can confidently complete it within the timeframe.
5. You Want Warranty and Peace of Mind
Professional tilers typically offer a workmanship guarantee (often 12–24 months), which protects you from future issues caused by faulty installation. That’s not something you get with a DIY job—if tiles lift, crack, or stain due to an error, the fix is on you.
Other Factors to Consider Before Choosing DIY vs Pro
Tile installation isn’t just about sticking tiles to the wall—it’s about preparation, material compatibility, safety, and compliance. Here are a few more aspects that often get overlooked during DIY planning:
✅ Tile Material Matters
Some tiles are far more delicate or demanding than others. For instance:
- Natural stone like travertine or slate often needs sealing before and after installation and can absorb grout stains easily.
- Large-format porcelain tiles require ultra-flat surfaces and strong adhesives to avoid cracking.
- Glass mosaic tiles chip easily and can show every uneven surface behind them if not installed with a white adhesive.
A professional will match the tile to the right adhesive, substrate, and grout to ensure performance and longevity.
✅ Surface Preparation Is Half the Job
The best tile install starts with what’s beneath it. Whether it’s a cement board, plywood, or concrete slab, each substrate has its own preparation requirements. Professionals know how to:
- Prime absorbent surfaces
- Use levelling compounds on uneven subfloors
- Tape and seal cement board joints
- Test for moisture in concrete slabs
Skipping any of these steps risks failure down the line—even if the tiles look great on day one.
✅ UK Building Regulations
If your tile job is part of a kitchen or bathroom renovation, you’ll need to consider regulations under Part P (electrical safety) and Part C (resistance to moisture). Improper installations in wet rooms or utility areas may also impact your home insurance or future property valuations. Qualified tradespeople stay up to date with changes to these standards and build to code.
✅ Grout and Sealant Selection
Grout isn’t just filler—it’s part of the tile’s performance. Different spaces require different grouts:
- Epoxy grout for commercial kitchens or high-moisture areas
- Flexible grout for underfloor heating systems
- Silicone sealants for expansion joints and corners, to prevent cracking
Using the wrong type or applying it poorly can lead to issues like cracked joints, water ingress, or bacterial build-up.
Cost Comparison: DIY vs Professional
Let’s take a closer look at how DIY and professional tile installations compare financially. While DIY might look cheaper on paper, hidden costs and redo risks can add up fast.
💰 Example: Tiling a 10m² Kitchen Floor (Porcelain Tile)
| Cost Item | DIY Installation | Professional Installation |
|---|---|---|
| Tile Material (Mid-range) | £250 | £250 |
| Adhesive + Grout | £70 | £70 |
| Tools (purchase/rent) | £100–£150 | Included |
| Subfloor preparation | £30–£50 (self-leveller, primer) | Included |
| Labour | £0 | £400–£500 |
| Redo Costs (if errors) | £0–£200 | £0 |
| Total Estimate | £450–£720 | £720–£820 |
💡 Hidden Truth: If a DIY install fails (lippage, grout haze, water leakage), fixing it later may cost more than having it done right the first time. I’ve had clients spend £200 redoing £500 worth of DIY mistakes.
Also, professionals often have trade discounts on tiles and materials, which can reduce overall costs.
In Summary: Know Your Limits (and When to Invest in Expertise)
DIY tile installation isn’t about bravery—it’s about preparation, skill, and knowing where your strengths lie. For small, straightforward jobs like a backsplash or cloakroom floor, rolling up your sleeves might be the perfect option. But for large areas, wet zones, or intricate designs, the margin for error is simply too high. That’s where professionals shine.
At the end of the day, your home is a long-term investment. A flawless tile job not only boosts your daily satisfaction but adds resale value and long-term durability. Don’t think of hiring a pro as a luxury—it’s often the most efficient, cost-effective decision you can make.
FAQs About DIY Tile Installation
Is it cheaper to install tile yourself?
Yes, DIY tile installation can be cheaper upfront because you avoid labour fees. However, mistakes can lead to repair costs that outweigh the initial savings. Always factor in tool purchases, potential redos, and time commitment.
What tile projects are safe for beginners?
Simple kitchen backsplashes, small cloakroom floors, or fireplace surrounds are ideal for beginners. Stick to small tiles with straight cuts and avoid areas that need waterproofing or precision slopes.
Can I tile directly over old tiles?
Sometimes, yes—if the existing tiles are well-bonded, level, and clean. You’ll need a primer and possibly a flexible adhesive. For wet areas or damaged surfaces, removal is the better option.
What tools do I need for tiling?
Essentials include a notched trowel, spacers, tile cutter (manual or wet saw), level, sponge, mixing bucket, and grout float. For larger jobs, consider renting a laser level and mixing paddle.
How long does a DIY tile job take?
Expect a DIY project to take 2–3 times longer than a pro would take. A 10m² floor could take a weekend or more when factoring in drying time and cleanup.
Do I need to seal tiles after installing?
It depends on the tile type. Porcelain and ceramic usually don’t require sealing, but natural stone (like slate or marble) does—both before and after grouting. Always check manufacturer recommendations.
When should I definitely hire a professional tiler?
Hire a pro for large surfaces, wet rooms, intricate patterns, or when waterproofing is required. If you’re short on time or concerned about building standards, professional installation is the safest route.