A beautifully stained fence can transform your home’s curb appeal. But fence staining isn’t just about looks — it also protects and preserves your investment. Whether you’re aiming to refresh a weathered fence or enhance a new one, this guide covers everything you need to know to achieve stunning, long-lasting results.
Why Fence Staining Matters

Your fence is more than a boundary — it’s a key part of your home’s curb appeal and character. But with constant exposure to the elements, wood can quickly lose its charm, becoming faded, warped, or even decayed. Staining not only enhances the look of your fence but also provides essential protection against moisture, UV rays, and rot.
I remember when my own weathered cedar fence looked drab and worn out after years of sun exposure and rain. After a weekend of staining with a rich semi-transparent finish, the transformation was incredible — it looked brand new. My neighbors even stopped by to ask what I did!
According to the Doris Franklin, Certified Carpentry Artisan “untreated wood exposed to outdoor conditions can begin to deteriorate in as little as 1 to 3 years (Source: Quora). A quality stain acts as a barrier, extending your fence’s lifespan and keeping it looking fresh.
For long-lasting results, investing in professional-grade stains from specialists like Austin Fence Staining ensures your fence remains durable and beautiful for years to come.
Choosing the Right Stain
Selecting the right stain makes all the difference in achieving a fence that’s both attractive and resilient. Here are the key types of stains to consider:
-
Transparent Stains
These stains enhance the wood’s natural grain and texture, offering a clear, subtle finish. Perfect if you love a rustic, natural look. However, they tend to need reapplication every 1 to 2 years due to their lighter protection (Source: Ready Seal).
-
Semi-Transparent Stains
Offering richer color while still showing the wood grain, semi-transparent stains add depth and personality. They provide a nice balance between protection and aesthetics, typically lasting 2 to 3 years.
-
Solid Stains
For a more uniform color and maximum protection, solid stains are your go-to option. They hide most of the wood grain, offering excellent durability and lasting up to 5 years with proper care.
Oil-Based vs. Water-Based Stains
Choosing between oil-based and water-based stains depends on your priorities and environment:
- Oil-Based Stains:
These penetrate deep into the wood, providing superior protection and longevity. Ideal for fences exposed to harsh weather. They offer a classic finish but require more effort during cleanup. - Water-Based Stains:
Easier to apply and clean up, water-based stains dry quickly and are more environmentally friendly. They’re perfect for DIY projects but may require more frequent reapplications compared to oil-based options.
Pro Tip: If your fence faces extreme weather conditions, oil-based stains are worth the extra effort for their durability and protection.
Preparation Is Key
The secret to a flawless, long-lasting fence stain? Preparation. Skipping this step can lead to uneven application and a finish that doesn’t hold up. On one of my early DIY projects, I skipped the prep work because I was short on time. Big mistake! The stain didn’t adhere properly, and within months, it started peeling. Lesson learned: proper cleaning and sanding make all the difference for a finish that lasts.
Follow these steps for professional results:
-
Repair and Sand
Inspect your fence for loose, broken, or rotten boards. Repair or replace damaged sections, and sand the surface for a smooth finish. This helps the stain adhere better and ensures even coverage.
-
Clean the Fence
Dirt, mildew, and old stains can prevent the new stain from penetrating properly. Use a pressure washer or a specialized wood-cleaning solution to thoroughly clean the surface. Allow it to dry completely — at least 24 to 48 hours — before staining.
-
Protect Surrounding Areas
Cover nearby plants, grass, and other surfaces with plastic sheeting or drop cloths. This safeguards them from accidental spills and overspray, making cleanup a breeze.
Remember: Taking the time to prep now saves you headaches (and repairs) later. A properly prepped fence sets the stage for a finish that looks stunning and stands the test of time.
Application Tips for a Professional Finish
Staining a fence doesn’t have to be intimidating. With the right approach and a few pro tips, you can achieve a finish that’s both beautiful and long-lasting. Here’s how to stain your fence like a seasoned pro:
1. Choose the Right Tools
Having the right tools makes all the difference. Here’s a breakdown of what works best:
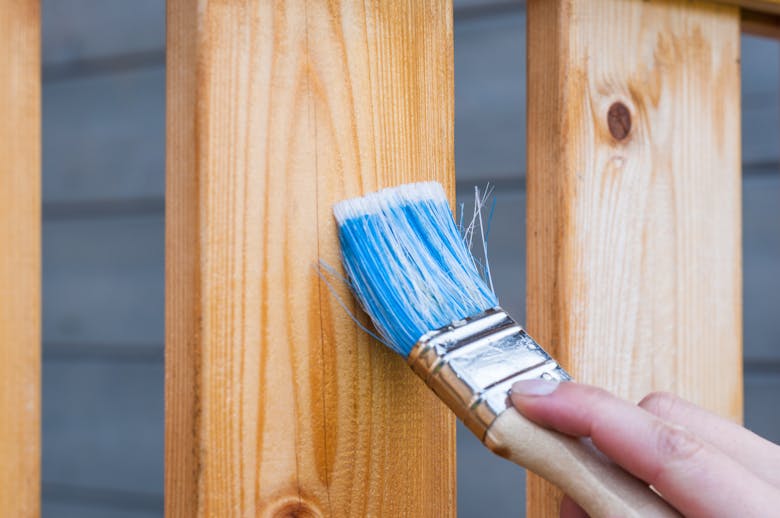
- Brushes: Perfect for detailed work and tight spots where precision is key.
- Rollers: Great for quickly covering large, flat sections.
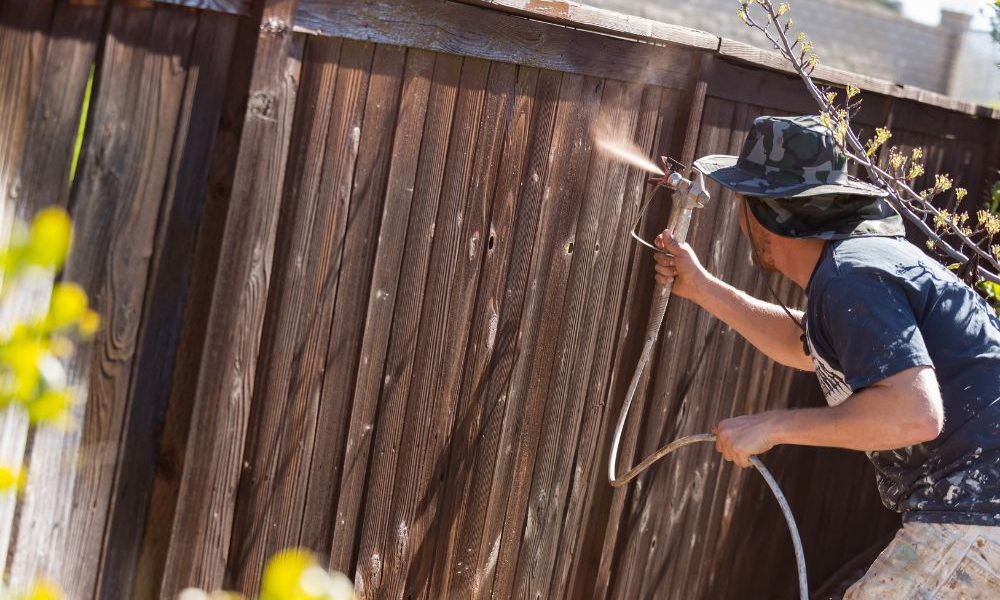
- Sprayers: Ideal for large fences or uneven surfaces. Just be cautious of overspray — a light breeze can send stain where you don’t want it.
Pro Tip: For a smooth, even finish, use a combination of tools — spray for coverage, then brush to work the stain into the wood grain.
2. Apply in the Right Conditions
Timing matters more than you think. Stain in the right conditions to avoid frustration and ensure your work lasts:
- Temperature: Aim for a dry day with temperatures between 50°F and 85°F.
- Avoid Direct Sunlight: Stain in the shade or during the cooler parts of the day to prevent the stain from drying too quickly, which can lead to uneven results.
According to The PPG Paints, staining in the right weather conditions helps the stain penetrate deeply and cure properly.
3. Work in Sections
Take it step-by-step for the best results:
- Stain small sections at a time, and always follow the wood grain for a smooth, even finish.
- Allow the stain to dry fully between coats, as recommended by the manufacturer. This helps build durability and a rich, even color.
4. Maintain a Wet Edge
To avoid those pesky lap marks:
- Keep the surface wet as you work by blending each new section into the previous one while it’s still wet.
- This technique ensures a seamless, professional finish.
Maintenance and Care
A well-maintained fence does more than look good — it protects your home’s curb appeal and your investment. Regular upkeep keeps your fence standing strong and looking fresh.
Annual Check-Ups
- Inspect your fence annually for signs of wear, peeling, or fading. Reapply stain every 2 to 3 years to maintain protection and vibrancy (Source: Woodrich Brand).
- Clean periodically to remove dirt, mildew, and grime that can degrade the stain over time.
Quick Tip: A gentle pressure wash or a mix of water and mild detergent works wonders for keeping your fence clean.
Final Thoughts
Staining your fence is one of the simplest yet most effective ways to boost your home’s exterior appeal. By choosing the right stain, prepping properly, and applying with care, you’ll achieve a result that’s both stunning and durable.
Whether you’re rolling up your sleeves for a DIY project or calling in the pros, a well-stained fence adds character, sophistication, and lasting beauty to your home.
Now, let’s get that fence looking its best and make your curb appeal truly shine!


