
A beautifully smooth, perfectly finished wall sets the tone for any room. Whilst many homeowners assume plastering is a job best left to the professionals, achieving a high-quality finish on your own is entirely possible with the right tools, materials and technique.
This guide will walk you through the process, helping you transform tired, uneven walls into a flawless canvas for your decorating projects.
Essential Tools for Plastering
Before you even think about mixing plaster, you need to gather the right equipment. Having everything to hand makes the entire process smoother and less stressful. You don’t need a huge arsenal, but a few key items are non-negotiable.
Your basic kit should include:
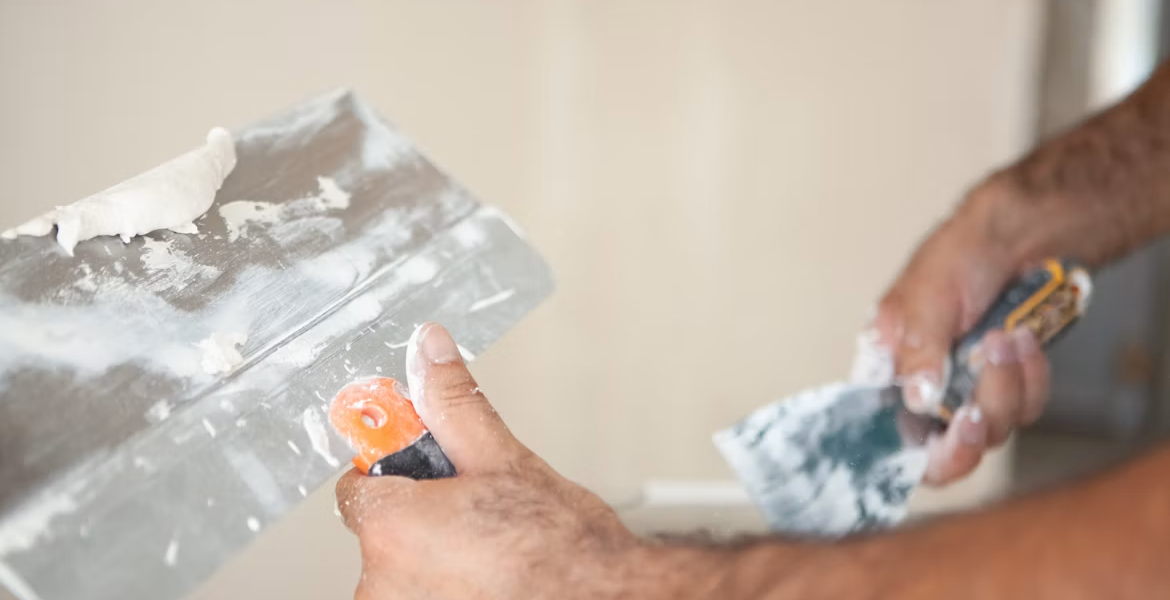
- Plastering Trowel: This is your primary tool for applying and smoothing the plaster. Invest in a good quality stainless steel one.
- Hawk Board: A flat square board with a handle underneath, used to hold a manageable amount of plaster as you work.
- Bucket Trowel: A smaller, rounded trowel for scooping plaster out of the bucket and onto your hawk.
- Mixing Buckets: You’ll need at least two sturdy buckets, one for mixing plaster and one for clean water.
- Paddle Mixer: A paddle attachment for a power drill makes mixing plaster to a lump-free consistency much easier than doing it by hand.
- Paintbrush: A large, soft paintbrush is useful for flicking water onto the plaster during the final smoothing stages.
Preparing Walls for a Flawless Finish
Great plastering is all about the preparation. A pristine finish can only be achieved on a surface that is clean, stable and ready to accept the plaster. Rushing this stage is the most common mistake DIYers make, so take your time to get it right.
Start by removing any old wallpaper, loose paint or flaking plaster. The wall needs to be clear of all dust and debris, so give it a good brush down and a wipe with a damp cloth. Fill any significant cracks or holes with a suitable filler and allow it to dry completely. For very absorbent surfaces like old brickwork or dry plasterboard, it’s crucial to apply a bonding agent. A diluted PVA glue mix, painted onto the wall, will control suction and give you more time to work with the plaster before it starts to dry.
Selecting Quality Plaster and Accessories
Not all plaster is the same. The type you choose will depend on the wall you’re working on and the finish you want. Generally, you’ll be dealing with two main types: an undercoat plaster for building up uneven surfaces and a finish or skim plaster for the final smooth layer.
For most DIY jobs involving skimming over existing plaster or plasterboard, a multi-finish plaster is the ideal choice. It’s designed to provide a high-quality surface that’s ready for painting. When buying your materials, also remember to pick up essentials like corner beads if you’re working on external corners, which help create sharp, durable edges.
Step-by-Step Application Guide
With your walls prepped and your materials ready, it’s time for the main event. The key is to work methodically and not to panic. Mixing is the first step; add your plaster powder to clean water in your bucket, never the other way around, and mix with your paddle until it’s a smooth, creamy consistency, similar to thick custard.
Once mixed, scoop some plaster onto your hawk. Using your trowel, apply a thin, even layer to the wall, working from the bottom up. Keep the trowel at a slight angle to the wall to spread the plaster. Your first coat doesn’t need to be perfect. The goal is to get an even coverage across the entire surface. Let this first coat firm up slightly before moving on.
Tips for a Smooth, Durable Surface
After applying the first coat and letting it set for about 20 minutes, it’s time to apply a second, thinner coat. This is your chance to fill in any hollows and create a flatter surface. The real magic happens during the smoothing process. As the second coat begins to harden, you’ll start polishing it.
Flick a small amount of water onto the wall with your paintbrush and glide your clean trowel over the surface with light pressure. This brings the cream of the plaster to the surface, allowing you to create that glassy-smooth finish. Repeat this process two or three times, cleaning your trowel between passes. Knowing how to avoid common DIY plastering mistakes like overworking the surface or using a dirty trowel is vital for a professional result. Patience is key; don’t rush the stages.
Finishing Touches and Curing
Once you’re happy with the smoothness of the wall, the hard work is done. Now, you must resist the urge to touch it or start painting immediately. Fresh plaster needs to cure properly, which involves a chemical reaction as well as drying out. The colour will change from a dark brown or grey to a very light, uniform pinkish colour.
Drying time can vary from two days to over a week, depending on the thickness of the plaster, the background surface and the room’s ventilation. Keep the room well-ventilated but avoid using direct heat like a fan heater, as this can cause it to dry too quickly and crack. Once it’s fully dry, you can lightly sand any minor imperfections before applying a mist coat of diluted emulsion paint, which seals the new surface before you apply your final top coats.
With your freshly plastered and painted wall, you can stand back and admire a professional-level job that you completed all on your own.