
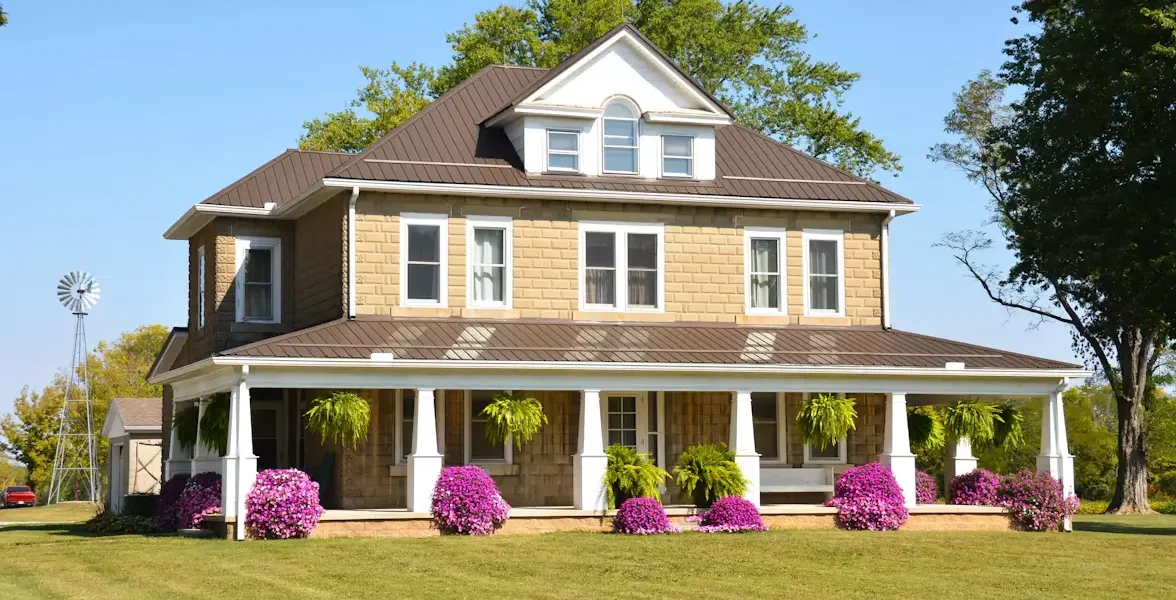
A well-kept frontage can shape a buyer’s opinion before they reach the front door. Improving kerb appeal helps a property look cared for, makes exterior photographs more inviting and creates a stronger first impression during viewings. Strategic pruning is one of the most effective ways to achieve this, especially where overgrown trees and hedges hide attractive features or leave gardens looking dark.
The key is to make careful changes that improve light, proportion and visibility without stripping the garden of its established character.
The Psychological Power of Kerb Appeal
Buyers often form an initial judgement within moments of arriving. A clear path, visible entrance and well-defined front garden suggest that the rest of the property has received regular attention. In contrast, branches hanging over a driveway or hedges encroaching on a pavement can create an immediate sense of extra work.
Start by standing across the road and viewing the property as a buyer would. Check whether greenery hides the house number, windows, gate or architectural details. Look at the balance of the planting too. A large tree may suit the scale of a detached home but overwhelm a compact frontage if its lower branches dominate the view.
Take photographs from the pavement and driveway. A photograph often reveals visual clutter that’s easy to overlook in person. Mark the branches or sections of hedge causing the problem, then decide which changes would open the view while retaining privacy. Mature planting can be a valuable selling feature, so measured pruning usually creates a better result than severe cutting.
Crown Thinning to Enhance Natural Sunlight
Crown thinning removes selected smaller branches from throughout a tree’s canopy. Done correctly, it allows more light to pass through while preserving the tree’s natural outline. This can brighten front rooms, reduce heavy shade over lawns and reveal parts of the building that were previously obscured.
The work needs restraint. Excessive thinning may encourage weak regrowth, expose previously shaded branches to harsh sunlight and leave the canopy looking uneven. Guidance on tree pruning techniques helps explain why branch position, timing and clean cuts matter.
Before arranging work, watch how shade moves across the property during the day. If a front room feels gloomy at midday, thinning selected growth on the relevant side may improve indoor brightness without removing a healthy tree. Consider seasonal effects as well. A deciduous canopy that seems dense in July may allow plenty of winter light.
Owners of established gardens may also find the advice on maintaining mature trees useful when deciding how pruning fits into long-term care. The aim should be a healthier-looking tree with a lighter canopy, not a visibly reduced framework.
Bringing in a Qualified Tree Surgeon
Professional help is sensible when work involves large branches, tall trees, confined front gardens or growth close to buildings and public areas. A qualified tree surgeon can assess the tree’s condition, recommend a suitable type of pruning and carry out the work with the correct access equipment.
Ask for a written description of the proposed work. Clear wording such as “remove lower branches to provide two metres of clearance above the path” is more useful than a general instruction to cut the tree back. If crown thinning is recommended, the quotation should describe the intended extent and identify any dead, damaged or crossing branches due for removal.
Check for visible signs that need specialist assessment, including cracks at major branch unions, fungal growth around the base or sections of canopy that failed to produce leaves during the growing season. These symptoms don’t automatically mean a tree must come down, but they do call for informed inspection.
You should also confirm whether the tree is protected or the property lies within a conservation area before work begins. Local restrictions may require consent or formal notice, and a reputable contractor should be able to discuss these practical requirements with you.
Tidy Boundary Hedges Create Clear Borders
Neatly maintained hedges make a plot easier to understand at a glance. Buyers can see where the garden begins and ends, while paths, parking areas and entrances appear wider. An even hedge line also provides a simple visual frame for estate agent photographs.
Trim the sides first, keeping the base slightly wider than the top so sunlight can reach lower growth. This shape helps prevent bare patches near ground level. Use a string line as a guide for long, formal hedges and step back regularly to check the result from the pavement. Small irregularities become much more obvious when viewed from a distance.
Avoid cutting every hedge into the same rigid shape. Informal flowering hedges and mixed boundaries often look better with a softer outline. Timing matters too, particularly where active bird nests may be present. Inspect the hedge carefully before starting and postpone work if wildlife is using it.
Pay close attention to access points. Clear growth away from gates, doorbells, lights and house numbers. On shared boundaries, speak to the neighbour before substantial trimming, especially if access from their side would be needed. A tidy boundary should improve the frontage without creating a dispute just before the property goes on the market.
Final Exterior Touches Before Photography
Schedule major tree and hedge work early enough for debris to be removed and the garden to settle before photographs are taken. Around one to two weeks is usually practical for routine pruning. This gives you time to spot stray clippings, clean hard surfaces and correct small areas that still look untidy.
Work through the frontage in the same order a visitor experiences it. Sweep the pavement and path, wash the gate, clean exterior lights and remove weeds from paving joints. Move bins, loose pots and garden tools out of view. If branches have recently been removed, rake beds and add a thin layer of mulch where appropriate, keeping it clear of trunks and woody stems.
Photographs generally look best when windows and the front door are visible but planting still softens the building. Check the view at the estate agent’s likely shooting time and move portable items that cast awkward shadows or block the route to the entrance.
Finish with one last photograph from across the road. If the entrance is obvious, the borders look intentional, and the canopy frames the property without dominating it, the frontage is ready for buyers to see.